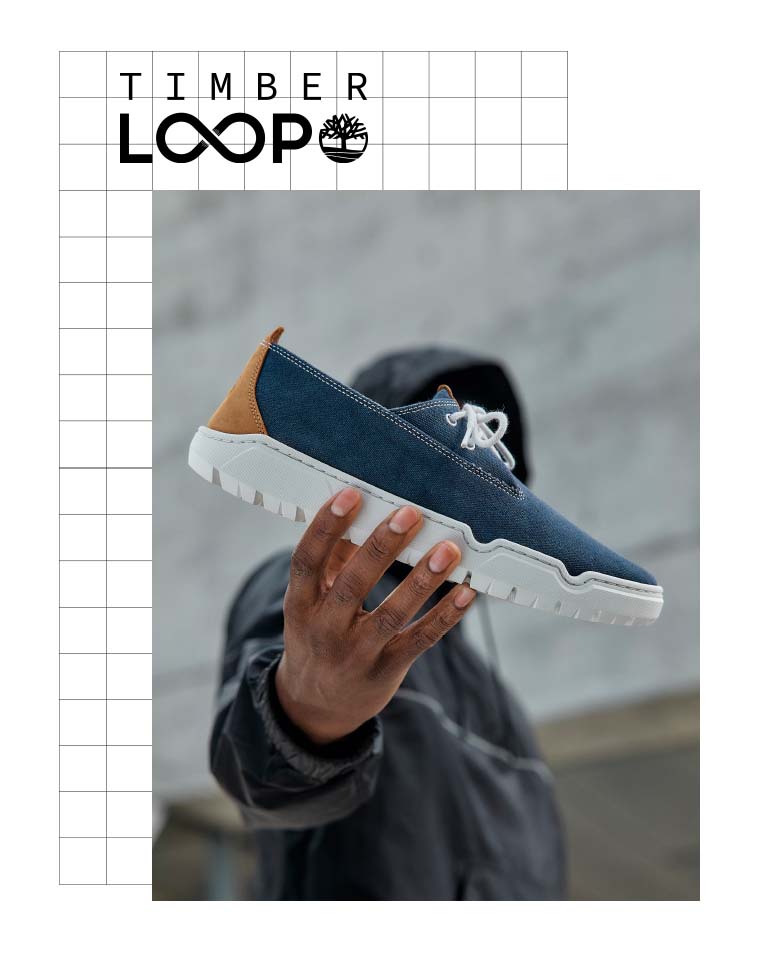
designed for circularity
TIMBERLOOP™ GO ROAM SNEAKER
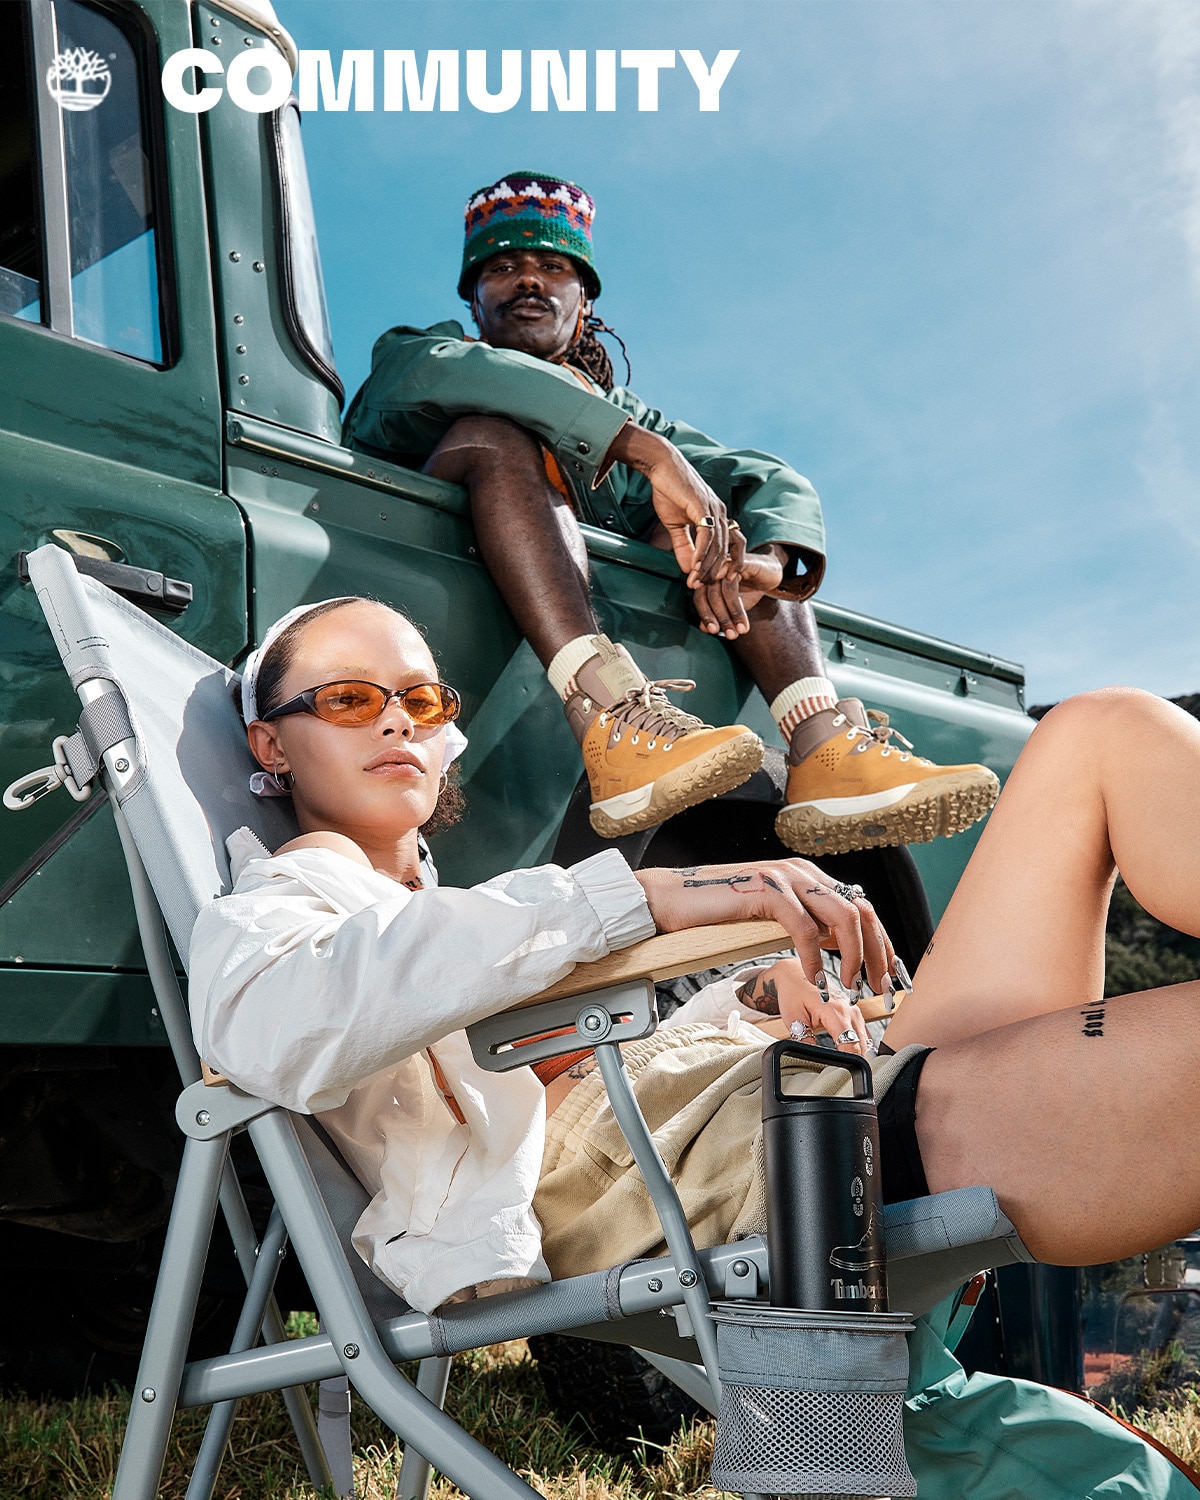
SPRING ADVENTURES START HERE
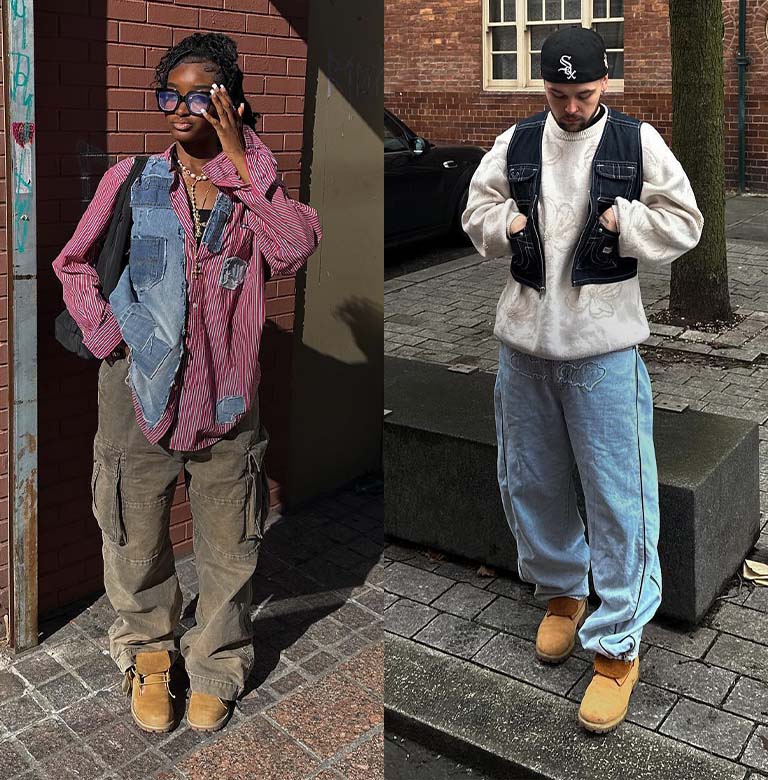
Featured
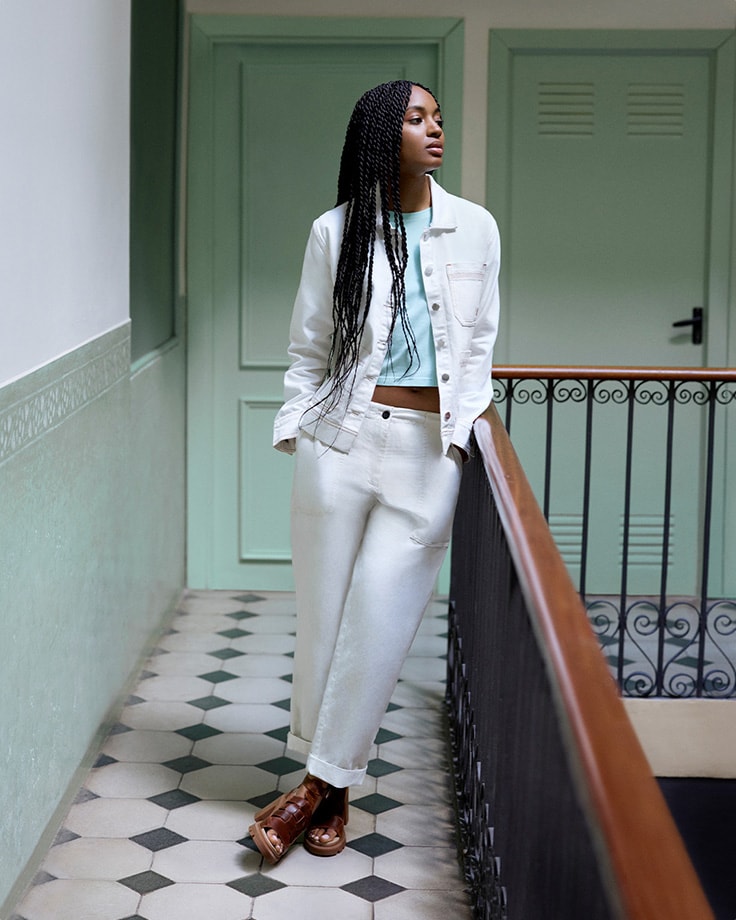
MADE FOR WARM WEATHER
lightweight materials & updated designs
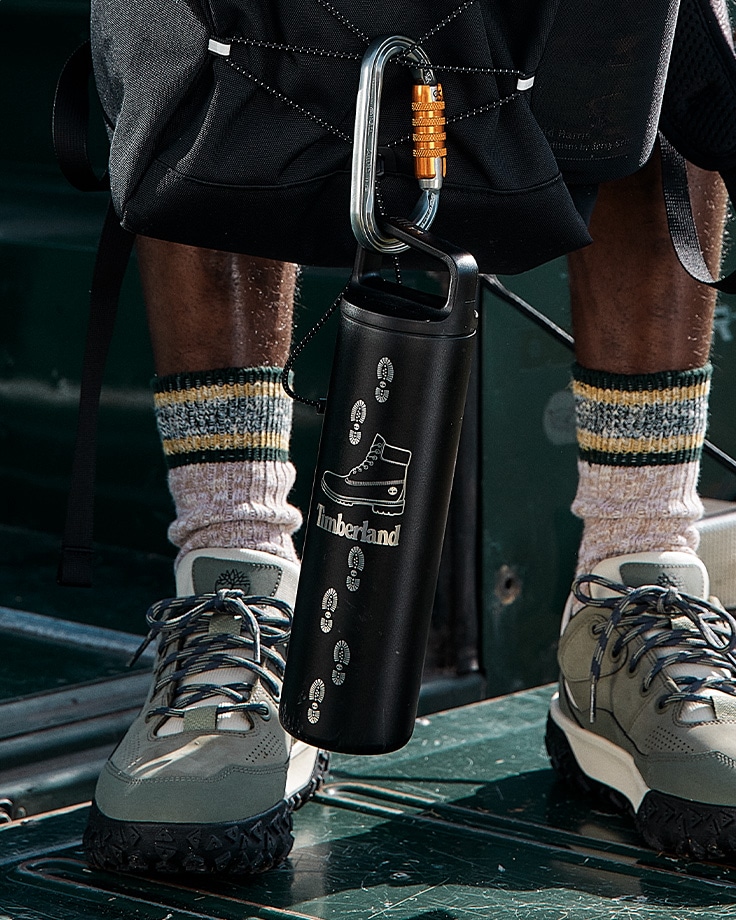
HYDRATE. PACK. GET SOME SHADE.
NEW ACCESSORIES ARE HERE
HAPPENING NOW
10% off for New Members
+ Benefits Built For You
STEP INTO THE SUN
ELEVATED STYLE GETS YOU CLOSER TO THOSE RAYS
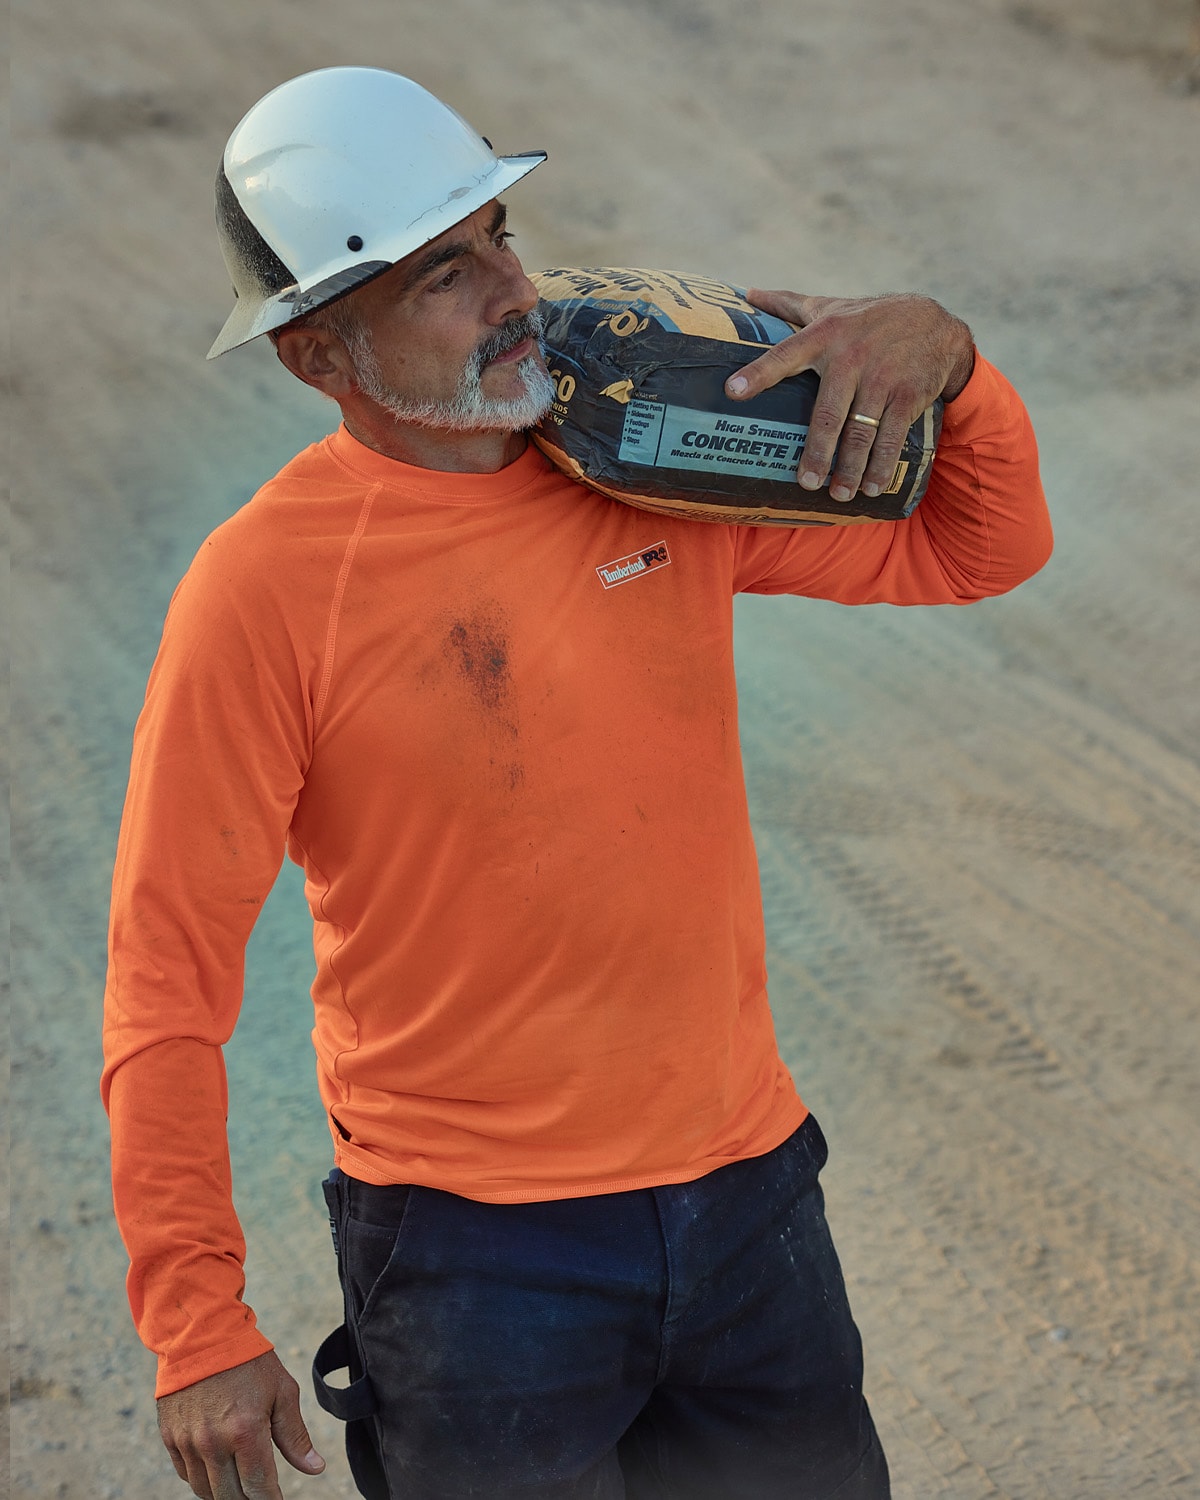
WEATHER-PROOF YOUR WORKDAY
Warmer Temps Are on The Way